Toy Photography Tips: Capture Stunning Images of Toys

Toy photography involves capturing creative and engaging images of toys, often to tell stories or showcase their unique features, requiring attention to lighting, composition, and perspective to bring these miniature subjects to life.
Do you want to capture your child’s favorite toys in creative and engaging ways? This comprehensive guide dives into toy photography tips, showing you how to take stunning images using simple techniques and equipment, transforming playtime memories into lasting visual stories.
Lighting Essentials for Toy Photography
Lighting is key when it comes to photography and this is especially important when dealing with toy photography. Ensuring that your photos of small toys achieve optimal results involves making sure you’re in control of the light you’re working with.
From natural sunlight to artificial lighting setups, understanding how light interacts with your subjects can drastically improve the quality of your photos.
Natural Light vs. Artificial Light
Deciding between natural and artificial light depends on your creative vision and available resources. Each offers unique benefits and challenges.
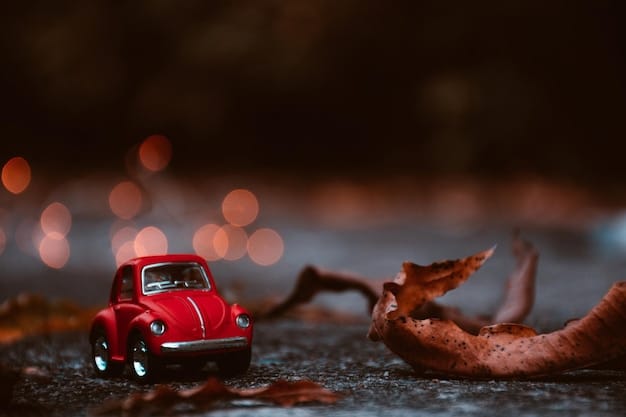
- Natural Light: Soft, diffused sunlight is ideal for toy photography. It evenly illuminates toys, reducing harsh shadows and enhancing color accuracy.
- Artificial Light: Studio lights or desk lamps offer consistent control over the direction and intensity of light, making them essential for indoor or nighttime shoots.
- Light Modifiers: Softboxes or reflectors can diffuse or redirect light, helping to sculpt the appearance of your toys and eliminate glare.
Experimenting with different lighting techniques can dramatically impact the mood and depth of your toy photography, making each photo unique and compelling.
Composition Techniques for Toy Photography
Great toy photography involves more than just pointing and shooting—it’s about crafting a visually appealing scene. Composition is a major element used to help ensure visual appeal, drawing the viewer’s eye and telling a story through careful arrangement.
By understanding composition, you can transform ordinary toy photos into captivating art.
Rule of Thirds
The Rule of Thirds is a fundamental composition guideline that involves dividing your frame into nine equal parts using two horizontal and two vertical lines.
Positioning your toy at the intersection of these lines or along the lines themselves can create a balanced and interesting composition, drawing attention to important elements of the scene.
- Creating Balance: Use the rule of thirds to balance your subject with other elements in the frame, creating a sense of harmony and visual appeal.
- Strategic Placement: Place the toy slightly off-center to avoid a static composition, leading the eye to explore the rest of the image.
- Framing Details: Utilize the intersections for key details, such as highlighting the toy’s face or a unique accessory.
Applying the Rule of Thirds in toy photography helps guide viewers through the image, emphasizing the toy and its context in a visually pleasing way.
Choosing the Right Camera and Lenses
Selecting the camera equipment is a crucial step in toy photography. While high-end cameras offer advanced features, smartphones and entry-level DSLRs also provide fantastic image quality for toy photography. What’s more, they often feature simpler controls which make it easier to learn how to use.
Let’s explore your options in choosing the right camera and accessories.
Smartphone Cameras
Modern smartphones come equipped with advanced image sensors and versatile lenses that are more than capable of producing sharp, vibrant photos of toys. These cameras offer high resolution, wide dynamic range, and easy portability.
Consider the sensor size and aperture of your smartphone camera. Larger sensors capture more light, improving low-light performance and dynamic range, while wider apertures (lower f-number) allow for shallower depth of field.
Using a tripod with your smartphone to stabilize shots can greatly enhance sharpness, especially in low-light conditions. Employing external lenses, such as macro or wide-angle lenses, expands your creative options.
Setting the Scene: Backgrounds and Props
Setting the optimal background and choosing the correct props are essential aspects of toy photography, as they help create immersive and compelling scenes. The right background enhances the story you want to tell with your toys.
Let’s determine which backgrounds and props are best for you and your toys.
Selecting a Background
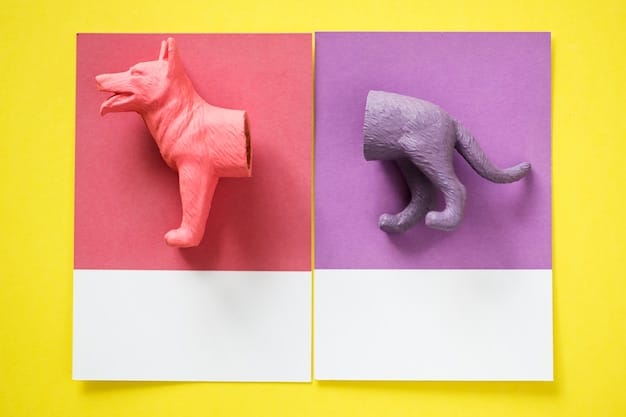
Choose your background carefully for toy photography because these choices strongly influence the mood of the photograph. They should support the story not take away from it.
- Plain Backdrops: Use seamless paper, fabric, or a wall painted in neutral colors as backdrops.
- Miniature Sets: Incorporate dollhouses, model train sets, or handmade dioramas to create realistic environments for miniature scenes.
- Nature Scenes: Set your toys against real-world backdrops like gardens, parks, or beaches to add depth and authenticity to your photos.
Post-Processing Techniques for Perfecting Toy Photos
Once you’ve captured your toy photos, post-processing can work minor miracles. This involves using software like Adobe Lightroom or VSCO to adjust colors, sharpness, and contrast, giving your images a polished and professional look.
Let’s consider some post-processing techniques.
Color Correction and Grading
Color correction involves adjusting the white balance, exposure, and color saturation to ensure accurate and consistent colors across your photos.
Color grading allows you to stylize your images by applying color adjustments to specific tones and shades which enables you to create a specific mood.
- White Balance: Correct any color casts caused by different lighting conditions to ensure that whites appear neutral.
- Exposure: Optimizing the exposure affects the overall brightness of the image, helping you achieve the right mood.
- Contrast: Increasing contrast can make your photo look more dynamic, while decreasing it can make it look softer.
Storytelling Through Toy Photography
Toy photography is not just about capturing images; it’s also about telling stories. Effective storytelling through toy photography brings your subjects to life, creating engaging narratives that resonate with your audience.
Let’s consider just how to tell stories through your toy photography.
- Develop a Narrative: Create a story outline, focusing on the toy’s adventures, challenges, or emotions.
- Use Props and Backdrops: Incorporate props and backgrounds that enhance the story, adding context and visual interest.
- Capture Facial Expressions: Manipulate the toy’s pose and accessories to suggest emotions and convey a sense of personality.
| Key Aspect | Brief Description |
|---|---|
| 💡 Lighting Techniques | Utilize natural or artificial light to highlight toy details. |
| 📐 Composition Rules | Apply the Rule of Thirds for balanced and engaging scenes. |
| 📸 Camera Choices | Smartphones or DSLRs can capture great toy images. |
| 🎨 Post-Processing | Enhance images with color correction and sharpening. |
Frequently Asked Questions
▼
Soft, natural light is ideal, as it evenly illuminates the toys and reduces harsh shadows. If using artificial light, ensure it is diffused with a softbox or reflector to prevent glare and harshness.
▼
Use a tripod to keep the camera steady, apply the Rule of Thirds for balanced composition, correct colors in post-processing, and pay attention to the background and props to create a cohesive and story-driven scene.
▼
No, you don’t need an expensive camera. Modern smartphones offer excellent image quality and are suitable for capturing detailed toy photos. Experiment with different modes and lenses to enhance your shots.
▼
Simple, uncluttered backgrounds are best to keep the focus on the toy. You can use seamless paper, fabric, or miniature sets to create realistic environments. Avoid distracting patterns or colors that detract from the main subject.
▼
Post-processing is critical for refining your toy photos. It allows you to correct colors, adjust exposure and contrast, sharpen details, and remove imperfections, ultimately enhancing the overall quality and appeal of your images.
Conclusion
Toy photography encourages creativity and storytelling by transforming ordinary playthings into captivating subjects. Experiment with lighting, composition, and depth of field to produce images that are both visually stunning and emotionally engaging, allowing you to see the world through a child’s eyes.


